Waxing Hardwood Floors 101
The decision of whether or not to wax the hardwood floors at your commercial property depends on a series of factors. From costs to benefits, and beyond, you want to be sure that the investment in keeping your hardwood floors looking sharp is worth the return. In this article, we’re going to explore what hardwood floor waxing is all about, how much it costs, and why you may want to consider it for your commercial, office, or residential space.
What Is Floor Wax?
From a technical standpoint, floor wax is a material made using organic ingredients such as beeswax and carnauba wax, or linseed (amongst other plant-based oils). Whether through the organic or synthetic process – both of which offer their own unique benefits in terms of pricing and quality – wood floor wax works to re-shine aged flooring and bring them back to life visually.
Should You Wax Floors?
In addition to increasing the longevity of your expensive hardwood flooring, there are a few specific benefits that accompany the waxing process, including:
- Floor wax creates a high-quality non-slip surface, meaning that the chance of accidents occurring due to slips and falls is reduced.
- Floor wax creates a beautiful shine, making aged flooring look just like new.
- Floor wax will cover the porous wood, ensuring that it doesn’t crack or wear over time and that stains aren’t able to gain entry.
Why Wax Hardwood Floors?
Given that hardwood floors are a meaningfully sized investment for any business or homeowner, it’s important that the finished product is taken care of. Waxing hardwood floors will ensure that the wood doesn’t wear beyond repair over years of use and that it’s protected against stains, chips, scratches, and more. Additionally, waxing hardwood floors will restore the color and shine of years past, meaning that you can ‘upgrade’ the quality of your flooring with very little time and financial investment.
What Type of Wax Should I Use?
The best type of wax to use on hardwood floors has shifted over the last several years. Although traditional organic waxes – such as beeswax and carnauba wax – or other plant-based oils offered quality solutions, new synthetic substitutes are offering more affordable routes that require less time and labor. In addition to organic floor wax and the synthetic substitutes, there is also floor finish (otherwise known as floor polish) solutions, which aren’t technically wax but acrylic-based polymers applied using a mop or microfibre pad. Later in the article, we’ll discuss each and which flooring types they should be applied to.
Which Floors Need Waxing?
Waxing requirements and frequency depend wholly on the type of flooring that you have installed. Below is a list of the various types that you should consider waxing over time:
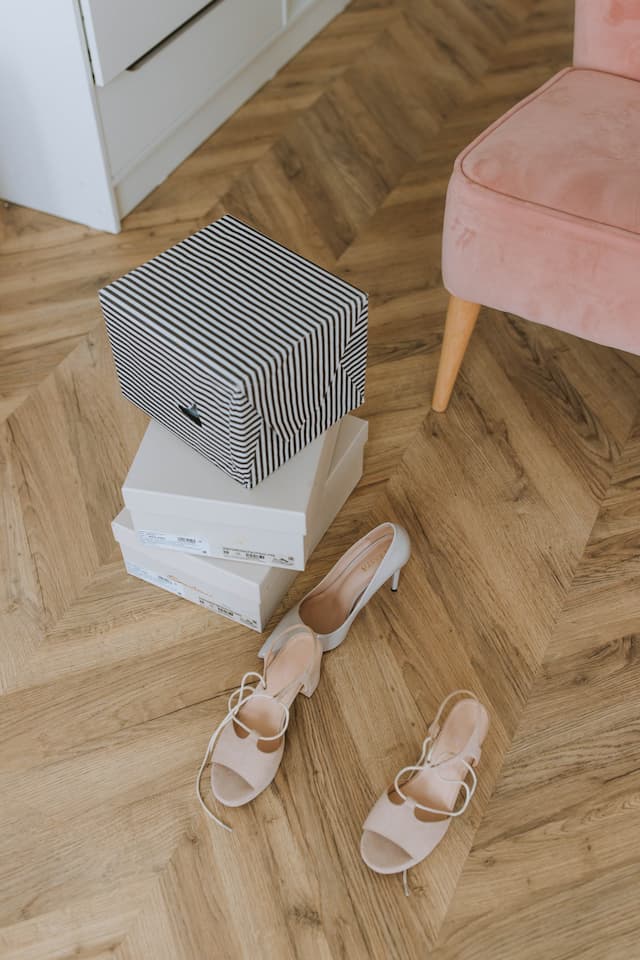
- Hardwood, including parquet – All hardwood flooring, regardless of whether it’s made from new or recycled materials, needs periodic wax servicing. Fresh floor wax will assist in sealing the porous wood surface, protecting it from exterior staining, masking dents and scratches, and increasing the shine. Hardwood floors should be waxed every 6-18 months, depending on usage and visible wear.
- Terra-cotta – Following installation, Terra-cotta – alongside other unglazed floor tiles – are often sealed and waxed. This process adds a shiny or matte finish to the flooring, drawing out natural wood tones and protecting it from staining. This floor type should receive additional waxing every 2-years to ensure longevity.
- Vinyl Composition Tile (VCT) – Unlike most vinyl tiles that receive factory finishes, VCT requires a hand-waxing following installation. As time passes, the old wax will need to be stripped and new wax applied. You should aim to complete this process every 6-12 months.
Floors That Shouldn’t Be Waxed
Given that the requirements of waxing floors depend almost wholly on the type and construction, there are also a good number of setups that should not receive it. Below is a list of the various floor types that you won’t want to apply waxing to:
- Engineered Hardwood – Most modern (engineered) hardwood flooring solutions are composed of hardwood bonded over plywood, creating a beautiful visual at a much more affordable price. This flooring comes with an acrylic finish, and you should only ever clean it using an approved floor cleaner with a damp mop.
- Wood Laminate – Made from particleboard that has a photo-like layer bonded to its surface, wood laminate flooring has a factory finish and won’t be capable of absorbing wax. Cleaning should consist of a laminate spray and microfibre pad.
- Bamboo – Bamboo comes pre-finished and will not be receptive to waxing. Most stores will carry a bamboo-specific floor cleaner, which is what you should rely on.
- Natural Stone – Wax and natural stone flooring do not mix well, as the wax will prevent the stone from breathing and cause rapid deterioration. Natural stone flooring should be cleaned using stone-specific solutions.
- Luxury Vinyl Tile (LVT) – Similar to other faux-wood flooring options on this list, LVT does not have the capacity to absorb the wax. Instead, use an LVT polish to bring the shine back to the flooring.
- Ceramic Tile – In order to keep ceramic tile looking new, use a grout sealer. Given the impermeable nature of the tile, the wax will simply build-up and provide no benefit.
Floor Waxing Tips
Prior to beginning a waxing project, there are a few tips and tricks you’re going to want to keep in mind, including:
- Strip your hardwood floors of any old wax using mineral spirits prior to applying the new layer.
- You should apply paste waxes by hand using a cheesecloth or soft cotton cloth, as it’ll allow the wax to successfully enter the wood pores.
- Liquid floor wax should be applied using a sponge mop or microfibre pad.
- For stone and tile, apply sealer using a paintbrush or paint roller.
- When finishing your acrylic flooring, apply the substance using a sponge mop or microfibre pad.
How to Wax a Hardwood Floor
Waxing hardwood floors is not an incredibly complicated process, however, there is a specific series of steps that must be followed to ensure project success. Below is a list (in sequence) of how you should approach a floor waxing project:
Phase 1: Prepare the floor
Preparing your floor for the waxing process will require the following steps:
- Determine whether or not the floor has already been treated.
- Choose the wax (or other finish) that is going to be applied.
- Remove all furniture and other objects from the floor in the room(s) your servicing.
- Determine whether or not you’ll need to strip the floor. If required, see phase 2.
Phase 2: Stripping the old floor finishing
In order to successfully strip your floor and prepare it for waxing, you’ll want to take the following steps:
- Purchase a floor stripping solution suitable for your floor.
- Clean your floor, using either a vacuum, mop, or broom.
- Source proper safety gear for the stripping process (gloves, goggles, etc.)
- Line a bucket with a trash bag and fill it with a stripping solution.
- Fill a second bucket with clean water and get a clean mop.
- Use a mop to apply the floor stripping solution from the far end of the room towards the exit.
- Use a floor machine or an auto scrubber to work in the stripping solution. Although not required, this can be a very useful step!
- Scrape wax from the corners and edges of the floor.
- Remove the stripping solution and finish with an auto scrubber or wet vacuum.
- Wash the floor using clean water and a mop bucket.
- Wash all of the tools used in the stripping process.
- Wait for the floor to completely dry before moving to the waxing process.
Phase 3: Applying the wax
With the floor now prepared for wax, you can move on to the final phase of the process:
- Read and follow the manufacturer’s instructions if you are using a finish instead of organic wax.
- Sweep and mop the floor until it’s as clean as possible.
- Prepare a fresh sponge mop or flat wax applier mope.
- Line a mop bucket using a garbage bag and fill it with floor wax.
- Apply wax to your mop.
- Apply the wax to one small section of the floor at a time.
- Wait for the wax to completely dry.
- Apply additional layers of wax the same way.
- Wash all tools immediately after use.
- Buff the floor if the wax requires it. This is an important step for obtaining a beautiful shine!
FAQs:
Given the somewhat lengthy and complicated process of floor waxing, there are a handful of questions that often arise. Below we’re going to answer some of the most common in an effort to get you on your way to successful project completion.
How Long Will It Take to Strip a Wax Floor?
It will often take a few rounds in order to completely strip a wax floor. Accounting for the breaks in between, you should anticipate a few hours of time to be spent on the stripping process
Can You Mop Waxed Floors?
No, you should never mop a waxed floor! There are specific cleaning solutions designed for wax flooring that will preserve its quality over time.
How Often Should I Wax Wood Floors?
Generally speaking, you shouldn’t wax your floors more than once every 6-months. For most hardwood floors, a waxing every 12-18 months should be sufficient.
What Dissolves Floor Wax?
There are many chemical compounds that will successfully dissolve floor wax. For a homemade solution, combine two gallons of hot water, two cups of household ammonia, and one cup of powdered dishwasher soap.
Services starting at just $175 per month.
Why Choose Start Team Cleaning
Star Team Cleaning is an expert in commercial cleaning and floor waxing solutions throughout Toronto and surrounding areas. To learn more about our services, or to obtain a project quote, contact our team today!
